
Last updated November 4, 2026
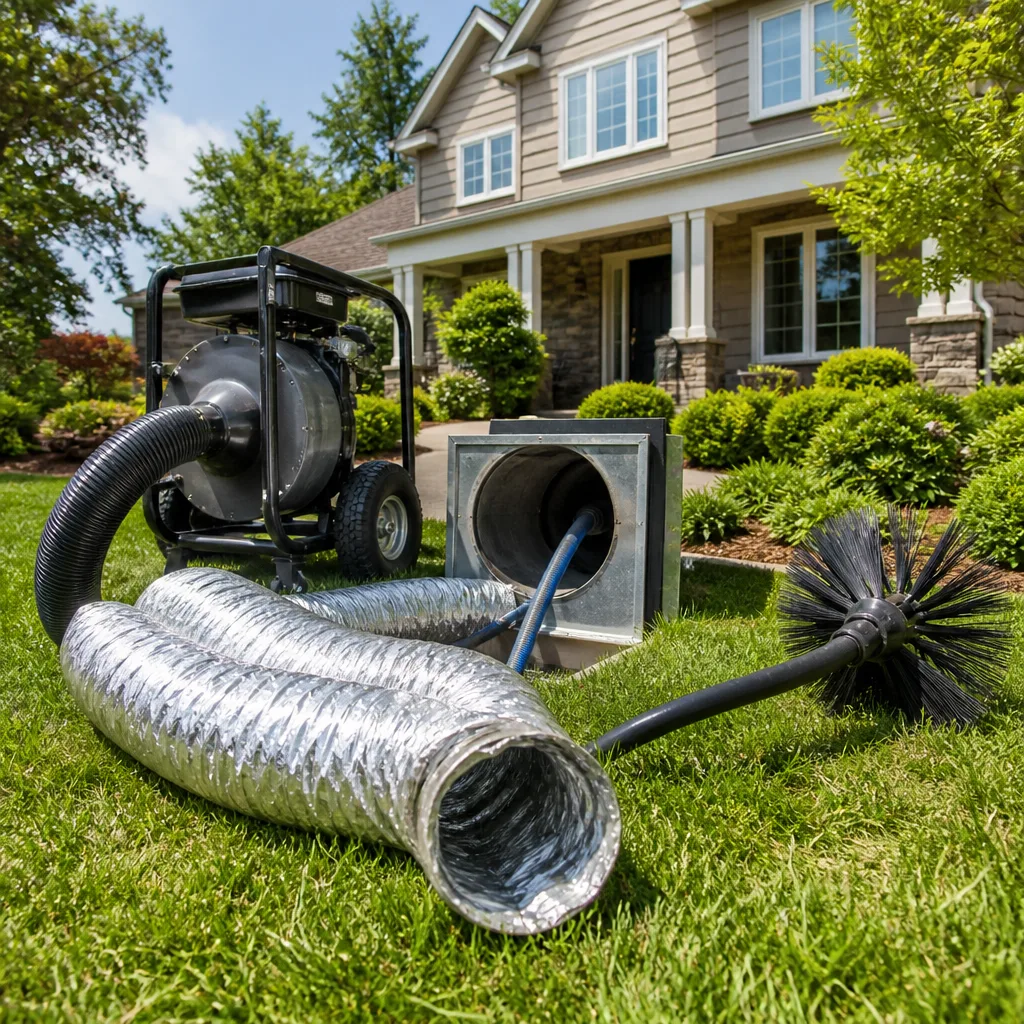 Whole-home duct cleaning
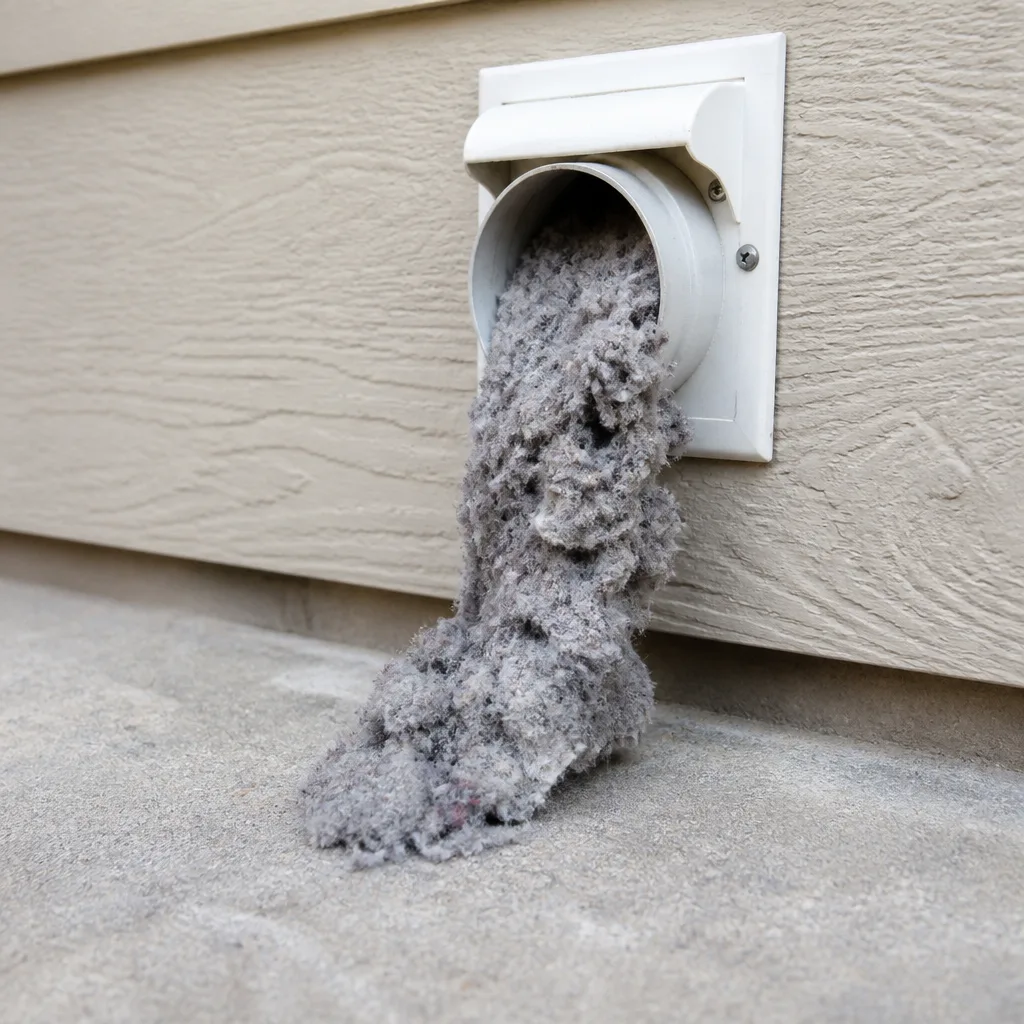 Dryer vent cleaning
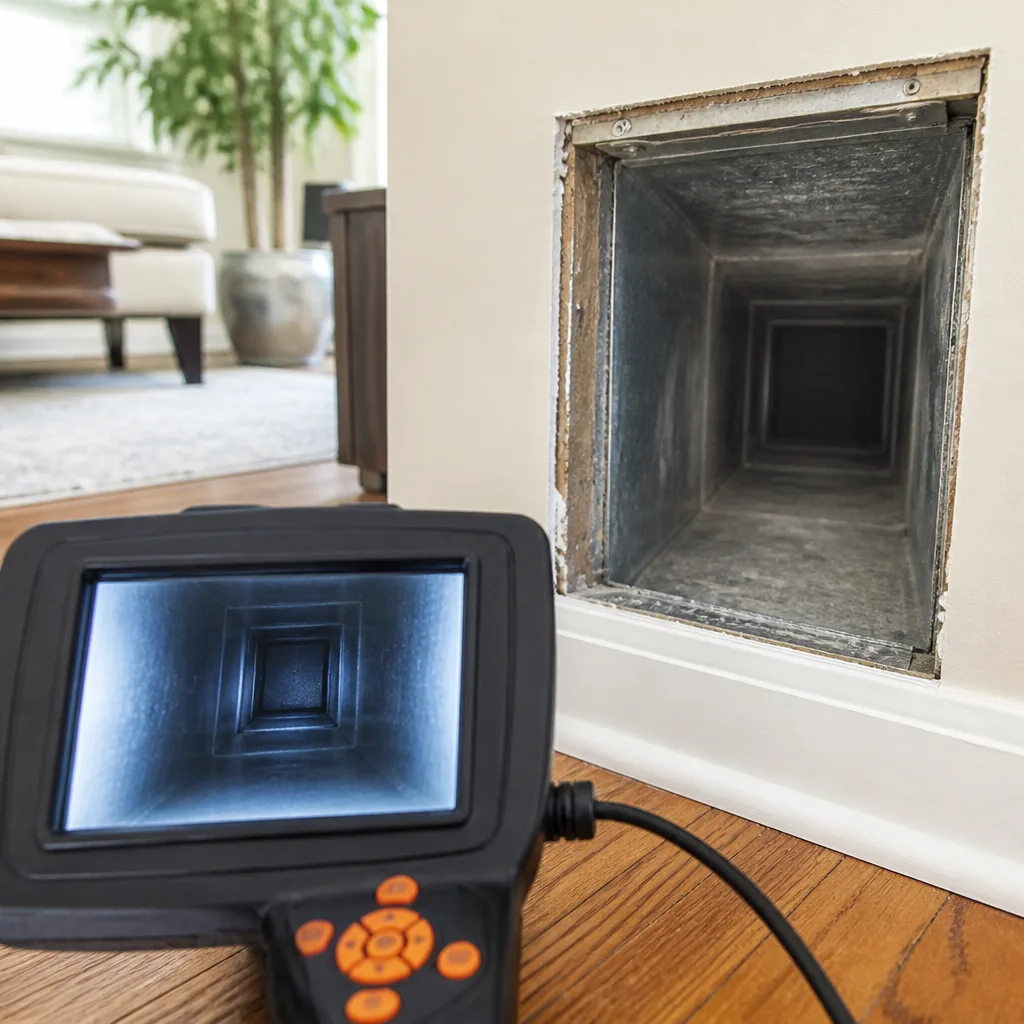 Camera inspection
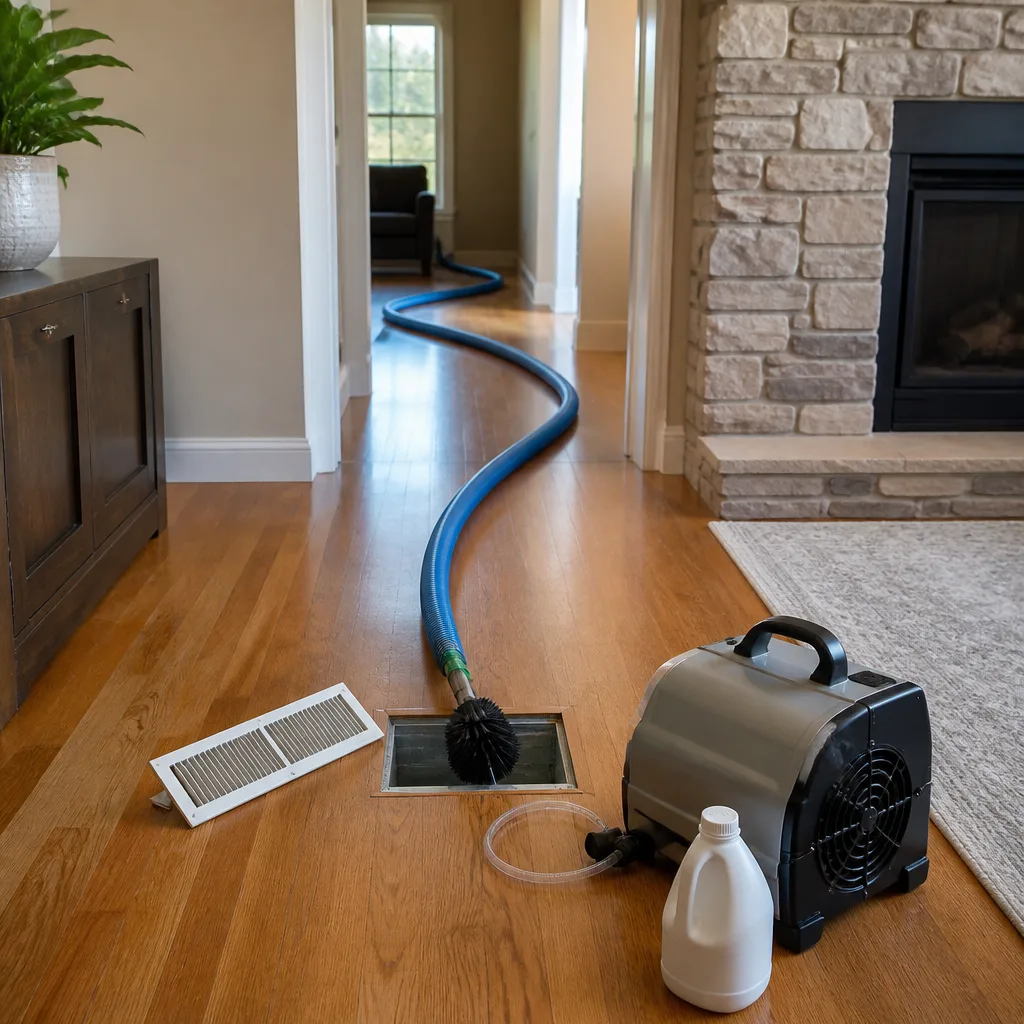 Sanitizing & deodorizing
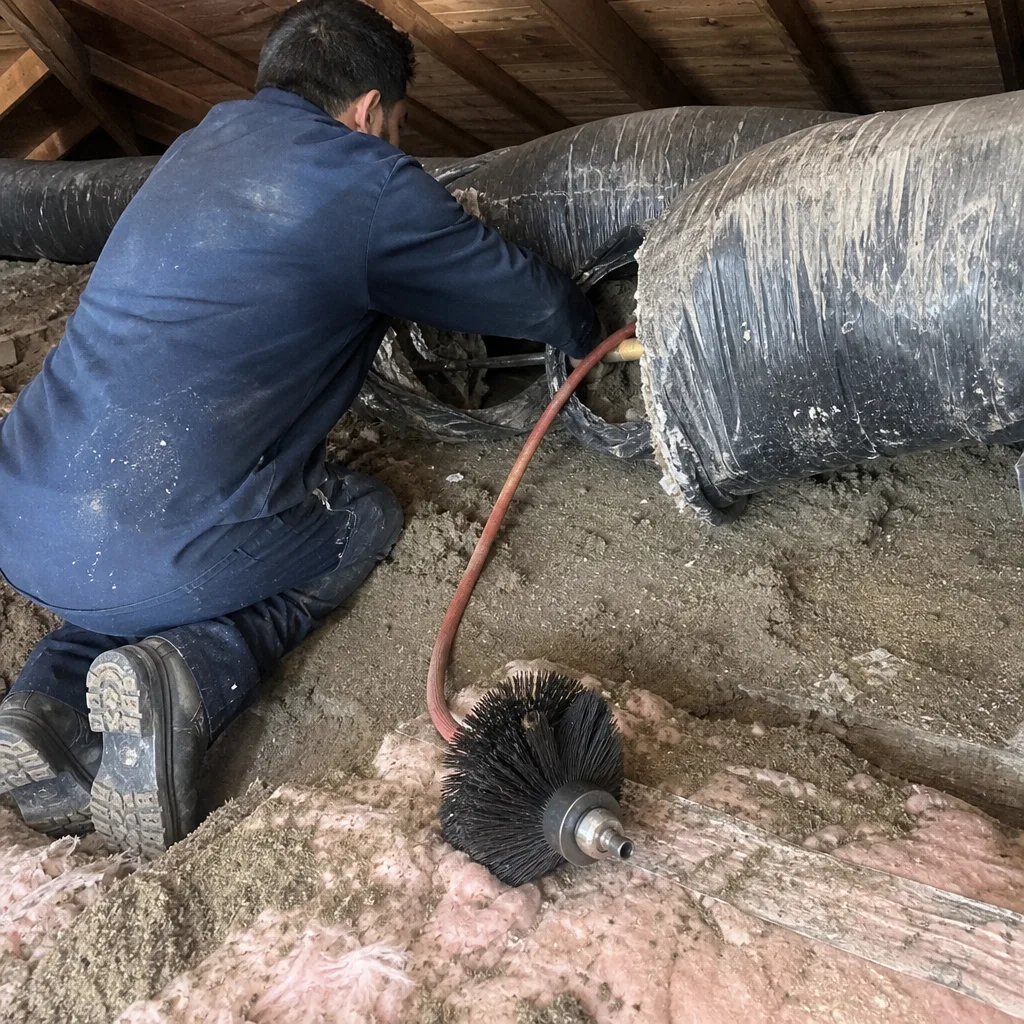
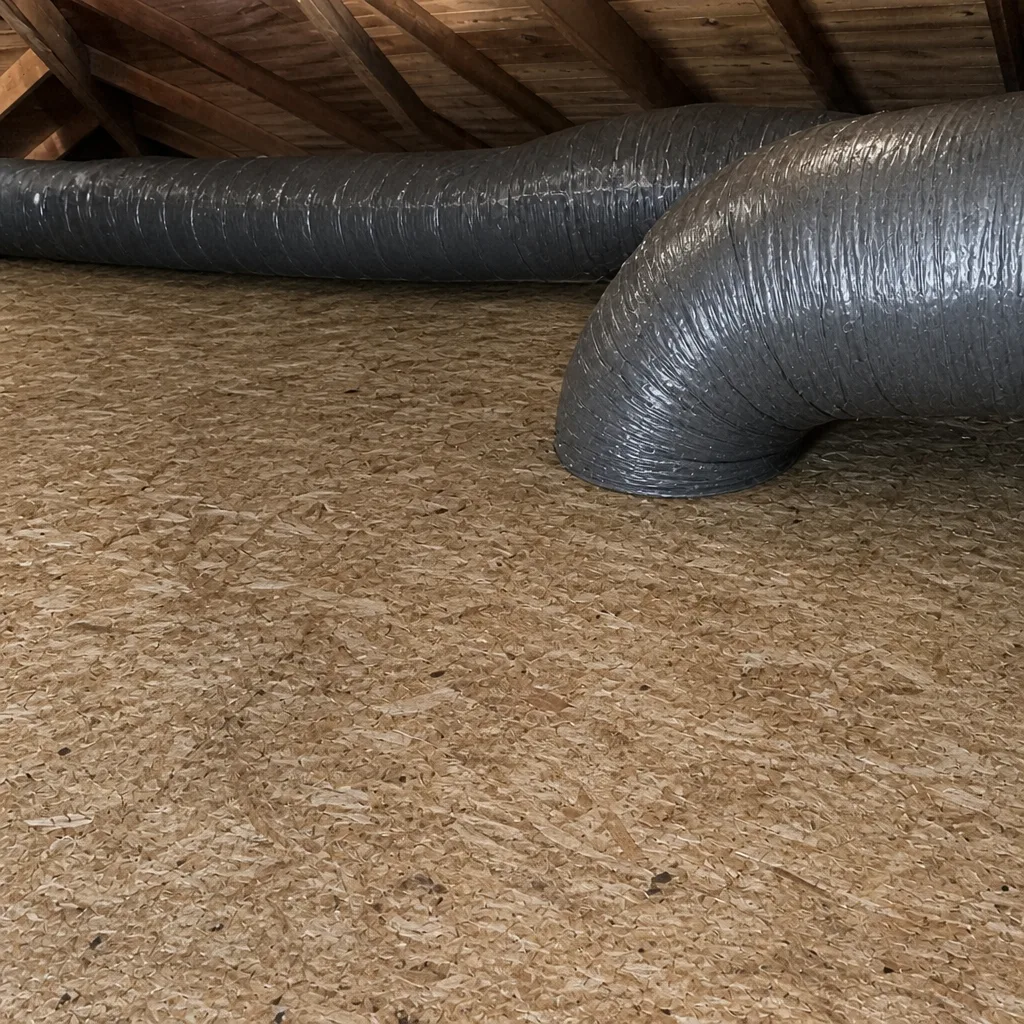
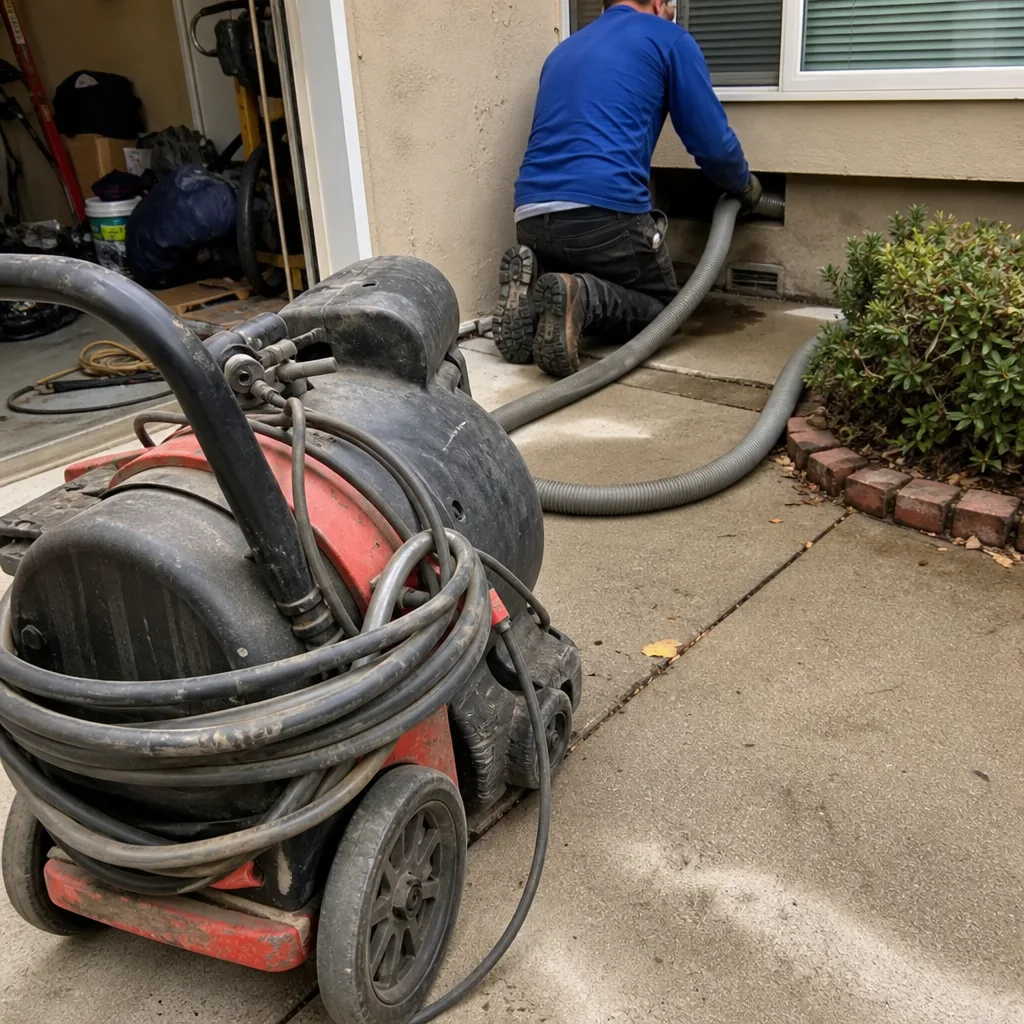
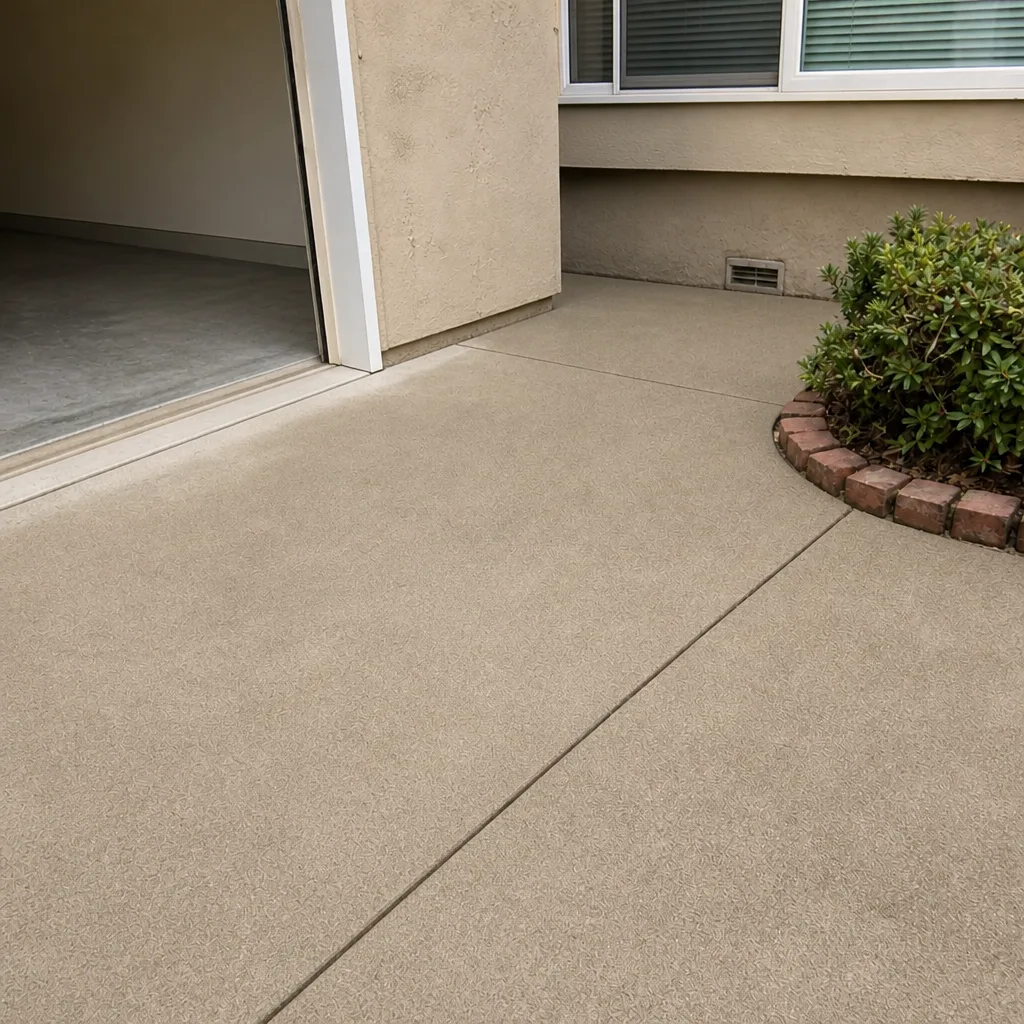
Whole-system duct and dryer vent check with before-and-after photos - you see exactly what came out of your vents
That "$99 whole-house special" is a bait ad - the real number appears once they are in your hallway, or the "clean" is a shop-vac at the register. We photograph the inside of your ducts before and after instead.
Air Duct Cleaning Troubleshooting in Hayward: Common Problems and How to Fix Them
If you notice more dust on your registers two weeks after a duct cleaning, the problem probably isn’t that the cleaning failed. It’s that the source was never addressed. Homeowners in Hayward call us with the same handful of complaints: reduced airflow, a musty smell that came back, dust reappearing on furniture, or a rattle that wasn’t there before. Most of those issues are diagnostic signals. They tell you what the last contractor missed, what’s failing inside the ductwork itself, or what your home’s environment is doing to the system. This guide teaches you to read those signals the way a technician would, so you know whether you’re looking at normal post-cleaning behavior, a real problem, or a repair that should have been part of the job from the start.
Styles & brands we work with
- Whole-home duct cleaning
- Dryer vent cleaning
- Camera inspection
- Sanitizing & deodorizing
Quick Answer
Most air duct cleaning problems in Hayward fall into four categories: normal disturbance dust that settles within 48 to 72 hours, airflow changes caused by dislodged or collapsed duct connections, odors that return because the source (coil, drain pan, or duct liner) was never treated, and debris left behind when negative pressure wasn’t maintained correctly. A proper diagnosis starts with identifying which category you’re in, then checking the right component in the right order. Most fixes are straightforward for a technician with professional-grade equipment; a few require duct repair rather than another cleaning.
Table of Contents
- Post-Cleaning Dust: What’s Normal and What Isn’t
- Reduced Airflow After Cleaning: The Real Causes
- Musty Odors That Come Back: Coil, Drain Pan, or Duct Liner
- Negative Pressure and What Happens When It’s Done Wrong
- Hayward Humidity and Crawlspace Duct Problems
- New Rattles, Whistles, and Noises After Service
- Common Mistakes to Avoid
- When to Call a Professional
- Frequently Asked Questions
- The Bottom Line
Post-Cleaning Dust: What’s Normal and What Isn’t
Every thorough air duct cleaning stirs up some particulate. The agitation process, whether it’s a rotating brush or high-pressure air, loosens debris that was adhered to duct walls, and a portion of that material becomes briefly airborne before the vacuum captures it. You may see a fine film of dust on registers and nearby surfaces for two to three days afterward. That’s disturbance dust, and it’s normal. It should taper off quickly and not return.
What’s not normal is dust that keeps appearing two weeks, three weeks, a month later. That pattern means the system is still pulling contaminated air from somewhere. The source is usually one of three things: a return-side leak pulling unfiltered attic or crawlspace air into the ducts, a blower compartment that was never cleaned, or ductwork with interior lining that’s degrading and shedding fibers. In Hayward homes with older flex duct runs, we often find the inner liner has separated from the insulation jacket and is releasing particles into the airstream continuously.
Here’s how to tell the difference:
- Wipe a register with a clean white cloth. If the residue is light gray and stops appearing after 72 hours, that’s normal post-cleaning dust.
- Check whether dust accumulates faster near one specific return or supply. Localized dust points to a leak or compromised section in that branch, not a system-wide issue.
- Look at the dust itself. Dark, greasy, or fibrous particles are not typical household dust. They suggest a source inside the system that wasn’t addressed.
- Replace your filter and monitor for two weeks. If dust returns at the same rate with a clean filter, the contamination is coming from the ductwork or the air handler, not the filter’s normal job.
The practical takeaway: a good cleaning removes what’s in the ducts. It can’t remove what’s still entering them. If dust persists, the next step is finding the entry point or the degrading material, which is a diagnostic problem, not a cleaning problem.
Reduced Airflow After Cleaning: The Real Causes
A noticeable drop in airflow after a duct cleaning is the most common post-service complaint we hear from homeowners in Hayward. The instinct is to blame the cleaning itself, but the mechanics usually say otherwise. Professional agitation tools like the Rotobrush and Nikro systems we run apply enough force to dislodge debris, and in some cases, that force reveals a weak connection that was already failing. A flex duct that was loosely attached, a takeoff collar that wasn’t screwed down, or a section that was pinched behind a joist can shift during cleaning and partially separate afterward.
The more serious version is collapsed flex duct. Flex duct has a spiral wire skeleton with a plastic or foil liner. If the liner tears, which happens with age, heat exposure, or rodent activity, the duct can lose its rigidity and fold inward. That constriction can cut airflow to a single room by half or more. In our experience, reduced airflow after cleaning is rarely about debris left behind. It’s about the condition of the duct itself being exposed by the process.
Common causes we find, in order of frequency:
- Dislodged connection at a register boot or plenum. The duct pulls away and conditioned air leaks into the wall cavity or attic instead of the room.
- Collapsed flex duct. The inner liner tears, the duct folds, and airflow chokes at that point.
- Crushed duct from prior work. Someone ran a cable, moved insulation, or stored boxes on top of a run in the attic or crawlspace.
- Damper that shifted closed. Volume dampers near the plenum can move during agitation, especially if they weren’t locked in place.
- Disconnected return. A return duct that separates pulls unconditioned air from the attic or crawlspace and reduces system efficiency.
You can do a basic check yourself. Go room to room and feel the airflow at each supply register with the system running. If one room is noticeably weaker than the others, the problem is in that branch, not the whole system. Then check the damper position at the takeoff if you can access it. If the damper is open and airflow is still weak, the duct itself likely has a connection or integrity problem. That’s where Duct Cleaning Hayward typically moves from cleaning mode to repair mode. We repair what others just clean around, because a well-cleaned duct that’s disconnected is still a failed duct.
Musty Odors That Come Back: Coil, Drain Pan, or Duct Liner
A musty or earthy smell that returns within weeks of a duct cleaning is one of the most frustrating problems a homeowner can face. You paid to have the system cleaned, and it smells like nothing changed. The reason is usually that the smell was never coming from loose dust in the ducts. It was coming from a biological source attached to a component the cleaning didn’t address.
The three most common sources we diagnose in Hayward homes:
- Evaporator coil. The coil sits in the airstream and condenses moisture every cooling cycle. That wet surface collects dust, and over time, the combination becomes a thin biological film. If the coil wasn’t cleaned during the duct service, the odor source remains active and will re-enter the airstream.
- Drain pan and condensate line. Standing water in a poorly sloped pan or a partially clogged line creates the damp environment odors come from. A duct cleaning that never touches the pan leaves the problem untouched.
- Degrading duct liner. Some older rigid ducts have internal fiberglass or foam liner. When that liner gets wet once from a past condensation issue or a leak, it can hold odor-producing material even after it’s dry. The liner itself becomes the source.
The diagnostic question is when the smell appears. If you notice it only when the system first kicks on, the source is likely at the coil or in the supply plenum, because that’s the air being pushed out first. If the smell is constant regardless of whether the fan runs, it’s more likely in the return side or the duct liner, pulling air from the home into the equipment. If it’s worse during cooling season, coil and drain pan issues are the prime suspects.
Fixing this properly usually means cleaning the coil and pan at the same time as the ducts, which is something a dryer vent cleaning or duct-only service won’t address. In cases where the liner is the source, liner replacement or duct section replacement is the only real fix. Cleaning can temporarily reduce the odor, but it can’t restore a porous material that has absorbed contamination.
Negative Pressure and What Happens When It’s Done Wrong
Professional duct cleaning relies on negative pressure. The equipment creates a vacuum inside the duct system while agitation tools loosen debris. That vacuum pulls the loosened material toward the collection unit instead of letting it drift back into the home. When negative pressure is maintained correctly, the home stays clean and the debris ends up in the equipment. When it’s not, debris escapes through every opening in the system and settles in the house.
The telltale signs that negative pressure wasn’t maintained during a cleaning:
- Debris found in rooms far from the access point. If the system wasn’t under proper vacuum, loosened dust travels through the duct and out the registers into living spaces.
- Dust inside the blower cabinet. A properly sealed system under negative pressure doesn’t push debris back into the air handler. Debris in the cabinet means pressure was lost at some point.
- A fine layer of insulation or dust across the whole house. This is the signature of a cleaning that agitated material without capturing it.
The equipment matters here. The Rotobrush and Nikro systems we use are designed to maintain consistent negative pressure while the brush or air whip works the duct walls. Entry-level setups, the kind built around a shop vacuum and a basic brush, can’t pull enough air volume to keep a whole branch under vacuum while agitating. Debris falls out of suspension and stays in the duct, or worse, gets pushed into the home. That’s the difference between professional-grade equipment and what a budget operator shows up with.
If you suspect a previous cleaning was done without proper negative pressure, the fix is usually another cleaning done correctly. The debris is still in the ducts or has settled in the air handler. A thorough pass with the right equipment will capture it. What you shouldn’t do is assume more cleaning is always the answer. If negative pressure was maintained and you still have dust, the source is external to the cleaning process, as covered above.
Hayward Humidity and Crawlspace Duct Problems
Hayward sits in a unique climate band. The Bay Area’s fog cycle and mild temperatures mean relative humidity can stay elevated for long stretches, particularly in the morning hours and during the summer marine layer pattern. Homes with crawlspace duct systems feel that humidity directly. Uninsulated or poorly sealed ductwork running through a crawlspace is exposed to that moisture, and moisture is the catalyst for most duct problems.
Here’s what Hayward’s climate does to duct systems:
- Condensation on duct exteriors. When cool conditioned air travels through a duct in a humid crawlspace, the duct surface can fall below the dew point. Water forms on the outside, drips, and soaks the insulation jacket if one exists.
- Mold regrowth timelines shorten. A crawlspace duct that gets wet and is not dried thoroughly can show biological growth again in weeks, not months. The humidity keeps the organic material damp after a cleaning, and regrowth follows quickly.
- Flex duct insulation saturates. Once the fiberglass insulation inside a flex duct jacket gets wet, it doesn’t dry easily in a crawlspace. That damp insulation supports odor and degrades the duct’s thermal performance.
- Return leaks pull humid crawlspace air. A disconnected or torn return duct in a crawlspace pulls the wettest air in your home into the system. That air hits the cold coil, condenses, and adds more moisture to the drain pan and coil surfaces.
The fix often involves more than cleaning. If your crawlspace ducts are uninsulated or the insulation jacket is waterlogged, the right repair is to replace the affected sections with properly insulated duct and seal every connection. Sealing the ductwork is equally important. A sealed system doesn’t pull crawlspace air, and it doesn’t leak conditioned air into the crawlspace, which cuts both humidity problems and energy waste. This is why Hayward homeowners with persistent post-cleaning odors or dampness near floor registers should look beyond the ducts themselves and consider the crawlspace environment.
New Rattles, Whistles, and Noises After Service
A new noise after a duct cleaning is a diagnostic signal, not an inevitable side effect. The cleaning process moves things. Sometimes that movement reveals a loose component. Sometimes it creates one by shifting a part that wasn’t secured. Here are the sounds we hear most often and what they point to:
- Rattling at a specific register. The register face or the boot connection is loose. The agitation process can pop a boot off its screws or loosen the register grille. Tightening the screws or reseating the register usually stops it.
- Whistling from a supply vent. Air is squeezing through a narrower opening than before. This often means a damper shifted partially closed, or a flex duct was compressed during the service. A partially closed damper makes the air accelerate through the remaining gap, and that creates the whistle.
- Rumbling in the ductwork. A section of duct is moving against framing. This can be a loose hanger or strap that needs resecuring.
- Flapping or popping. A flex duct that was pulled away from its connection can flap when airflow changes. This is a connection problem, and it’s also reducing the air delivery to that room.
Most of these are simple fixes. A screw tightened, a damper reset, a strap reattached. The important point is that they should be addressed, not ignored. A loose connection can worsen over time, and a partially closed damper can increase static pressure in the system, which puts strain on the blower and reduces efficiency. If a noise appeared after your cleaning and didn’t go away within a day or two, call the company that did the work. A professional stands behind the job and returns to fix what the process exposed.
Common Mistakes to Avoid
- Assuming all post-cleaning dust means the cleaning failed. Disturbance dust is normal for 48 to 72 hours. Persistent dust after two weeks points to a source, not a failed cleaning. Jumping to a complaint before checking the timeline wastes time and money.
- Ignoring reduced airflow because “it’s probably nothing.” A drop in airflow is a mechanical signal. It means a connection shifted, a duct collapsed, or a damper moved. None of those fix themselves.
- Paying for a second cleaning when the problem is a duct repair. If a flex duct is collapsed or a connection is separated, no amount of cleaning will restore airflow. The duct needs repair or replacement. Cleaning again just delays the fix.
- Treating a musty odor with air fresheners or scented filters. Masking the smell doesn’t address the coil, pan, or liner source. The odor is a signal that something is damp or contaminated. Covering it up lets the problem grow.
- Hiring based on price alone. A low quote often means entry-level equipment that can’t maintain negative pressure. The result is debris left in the system or pushed into the house. Equipment quality determines whether the job works at all.
- Skipping the crawlspace inspection. In Hayward’s climate, crawlspace humidity drives duct problems. If your ducts run through a crawlspace and you’re seeing persistent moisture or odor issues, the crawlspace is part of the diagnosis.
- Not asking what the cleaning includes. A coil, drain pan, and blower compartment should be part of a complete service. If a quote only covers the duct runs, the biggest odor and debris sources in the system are being left untouched.
When to Call a Professional
Some problems you can identify and let settle. Disturbance dust that clears in three days, a screw that needs tightening on a register, a damper you can visually reset. But most of the issues in this guide require access, tools, and experience. A collapsed flex duct needs to be found and replaced. A separated return connection needs the right sealant and mechanical fastening. A contaminated coil needs professional cleaning products and the right procedure to avoid pushing debris deeper into the fins. If you’ve checked the basics and the problem persists, or if you can hear a noise but can’t find the source, it’s time to bring in someone who does this work every day. Duct Cleaning Hayward offers free estimates in Hayward. Call (833) 589-9902 and describe what you’re seeing and hearing. We’ll help you figure out whether you need a cleaning, a repair, or both.
Frequently Asked Questions
A correctly done cleaning should leave you with a brief period of disturbance dust (48 to 72 hours), no new noises, and airflow that matches or improves on what you had before the service. If debris was left behind in the air handler or you find dust pushed into rooms, negative pressure likely wasn’t maintained. Before-and-after photos of the duct interior are one way to verify the work was actually performed.
Air duct cleaning costs vary based on home size, the number of systems, and the condition of the ductwork, with most Hayward homes falling into a range that requires an on-site evaluation to price accurately. The estimate should be free and set the final price before work starts. Call (833) 589-9902 for an exact quote, and ask whether the scope includes the coil, blower, and drain pan.
The difference usually comes down to equipment and scope. Professional-grade systems like Rotobrush and Nikro cost significantly more than entry-level shop-vac setups, and that investment shows up in the quote. Scope matters too. A quote that excludes the coil, blower, and drain pan will be cheaper because it’s doing less. Ask what equipment will be used and what components are included before you compare prices.
Ask for before-and-after photos of the duct interior. A professional service should be able to show you the same section of duct before cleaning and after. You can also check the access points: a proper cleaning requires cutting access holes or using existing openings, and those should be resealed cleanly afterward. A service that can’t show you any evidence of the work performed should raise questions.
Most homes in Hayward benefit from a professional cleaning every three to five years, though homes with pets, recent remodeling, or occupants with allergies may need it more often. The most reliable indicator is what you can see and smell. If your registers show visible dust buildup, your filter loads up quickly, or you notice a musty odor when the system runs, it’s time. Call (833) 589-9902 for a free estimate if you’re not sure.
Duct cleaning can fix a musty smell only if the source is debris inside the ducts. If the odor comes from the evaporator coil, the drain pan, or degrading duct liner, those components need their own cleaning or replacement. A complete service addresses all of them. If a previous cleaning didn’t touch the coil or pan, that’s likely why the smell came back.
The Bottom Line
Duct cleaning problems are not random. They’re signals from a system that’s telling you where to look. Post-cleaning dust that fades in three days is normal; dust that persists means a leak or a degrading liner. Reduced airflow points to a connection or duct integrity problem, not a failed cleaning. Recurring odors come from the coil, the pan, or the liner. The equipment used matters, because negative pressure is the difference between a clean system and debris pushed into your house. And in Hayward, the crawlspace is part of the equation. When the diagnosis points to damaged ductwork, you need a company that repairs ducts, not one that cleans around the problem. Call (833) 589-9902 for an honest assessment. We answer 24/7. Fast dispatch from 7am to 7pm, Sunday through Friday.
Written by the team at Duct Cleaning Hayward, serving Hayward since 2011.
See the difference
 Before
 After
 Before
 After
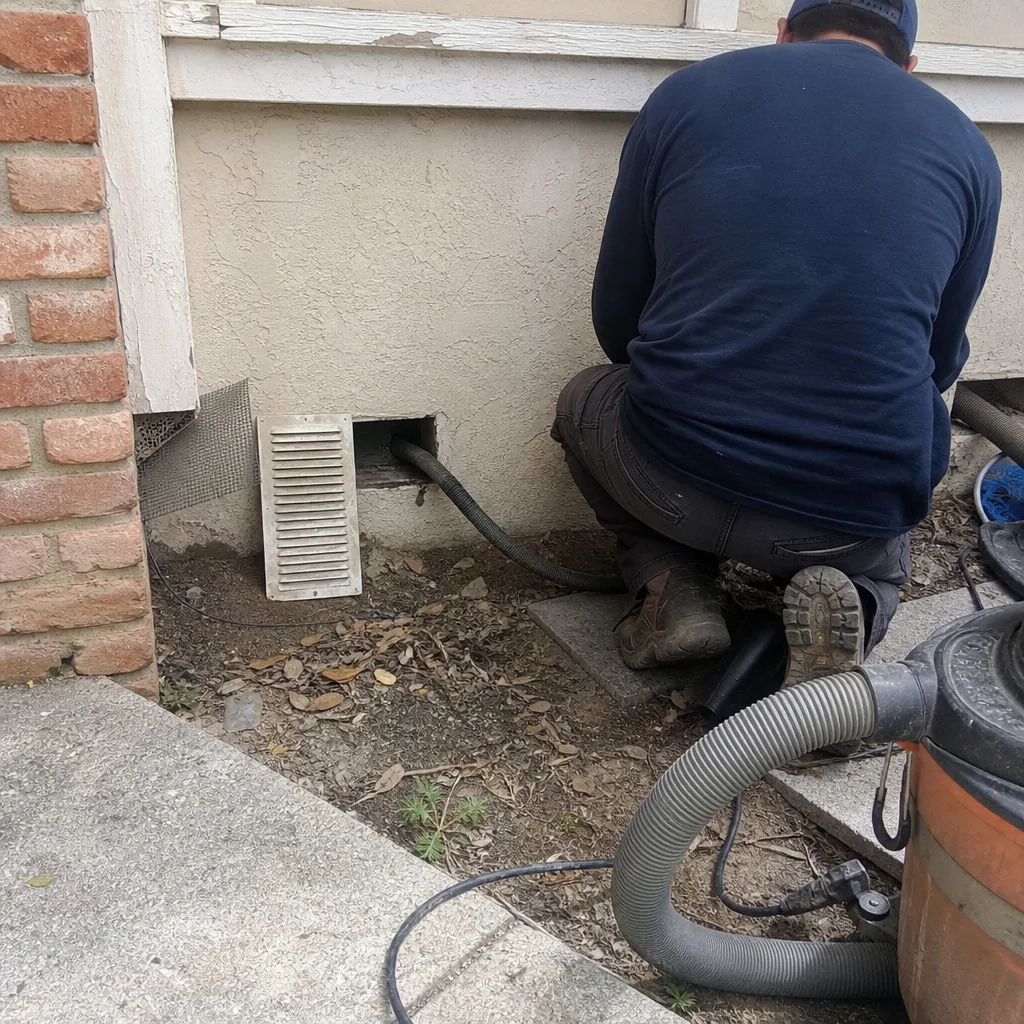 Before
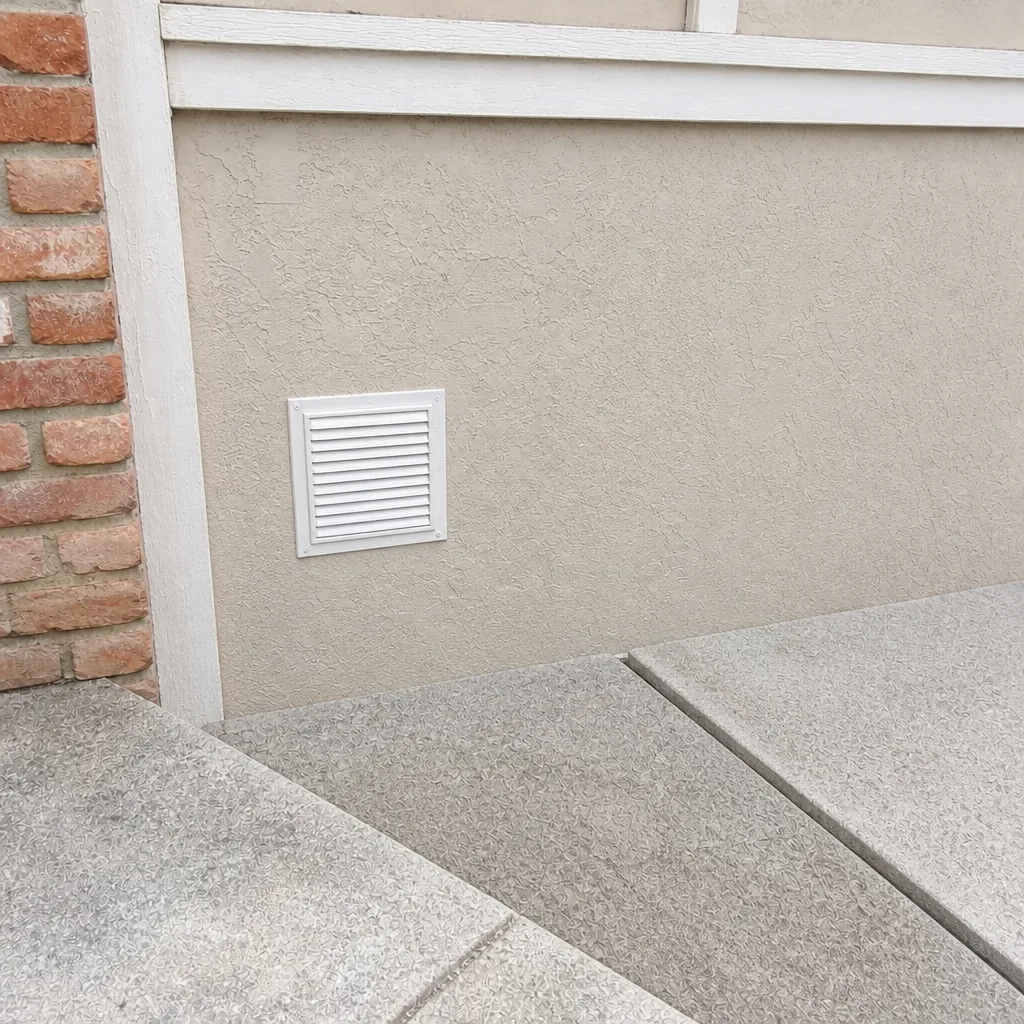 After