
Last updated November 4, 2026
 Whole-home duct cleaning
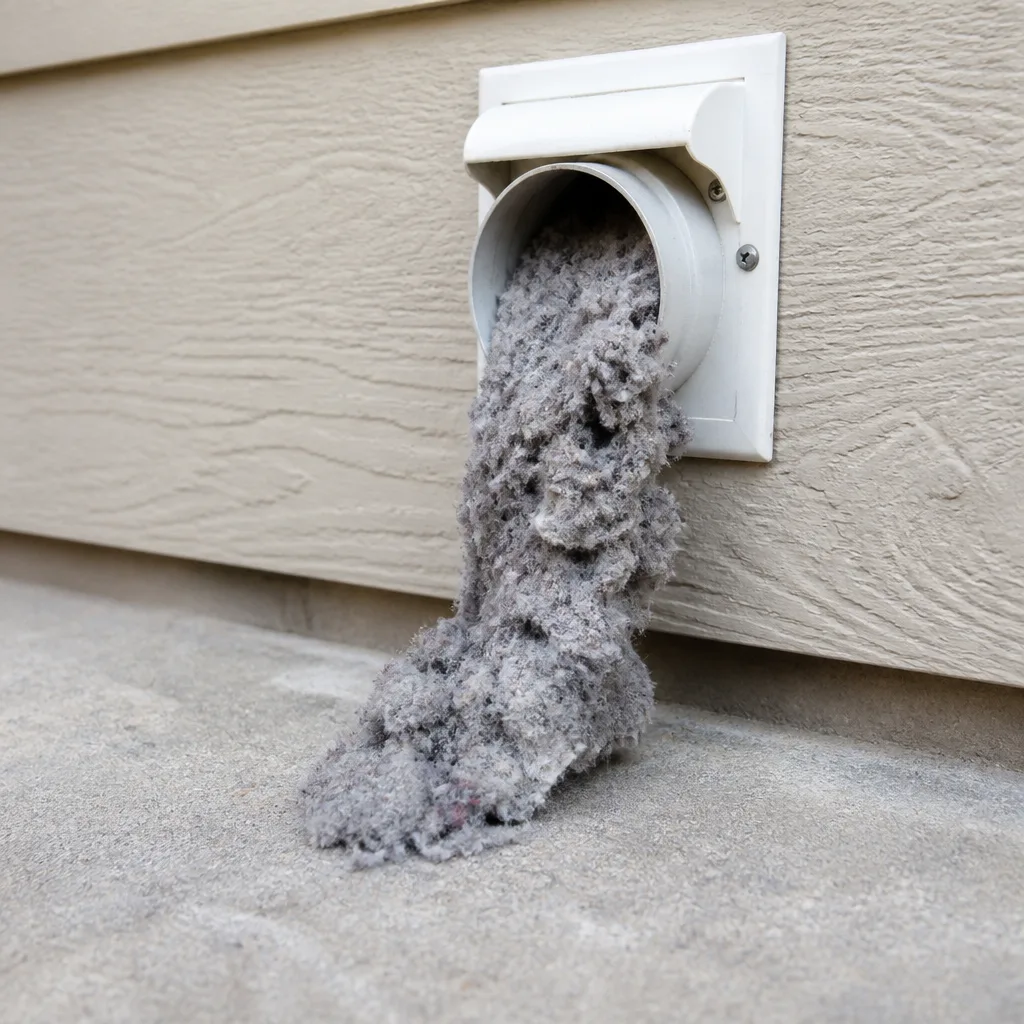 Dryer vent cleaning
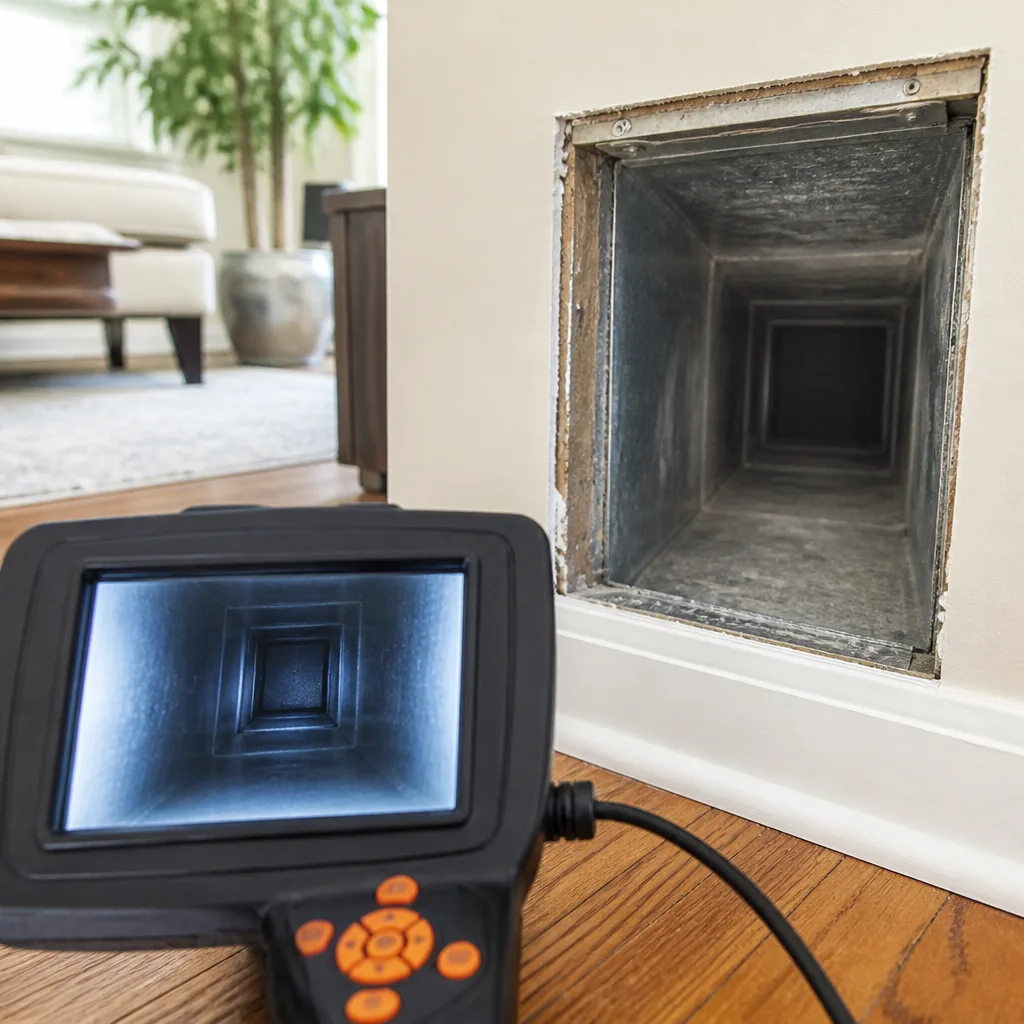 Camera inspection
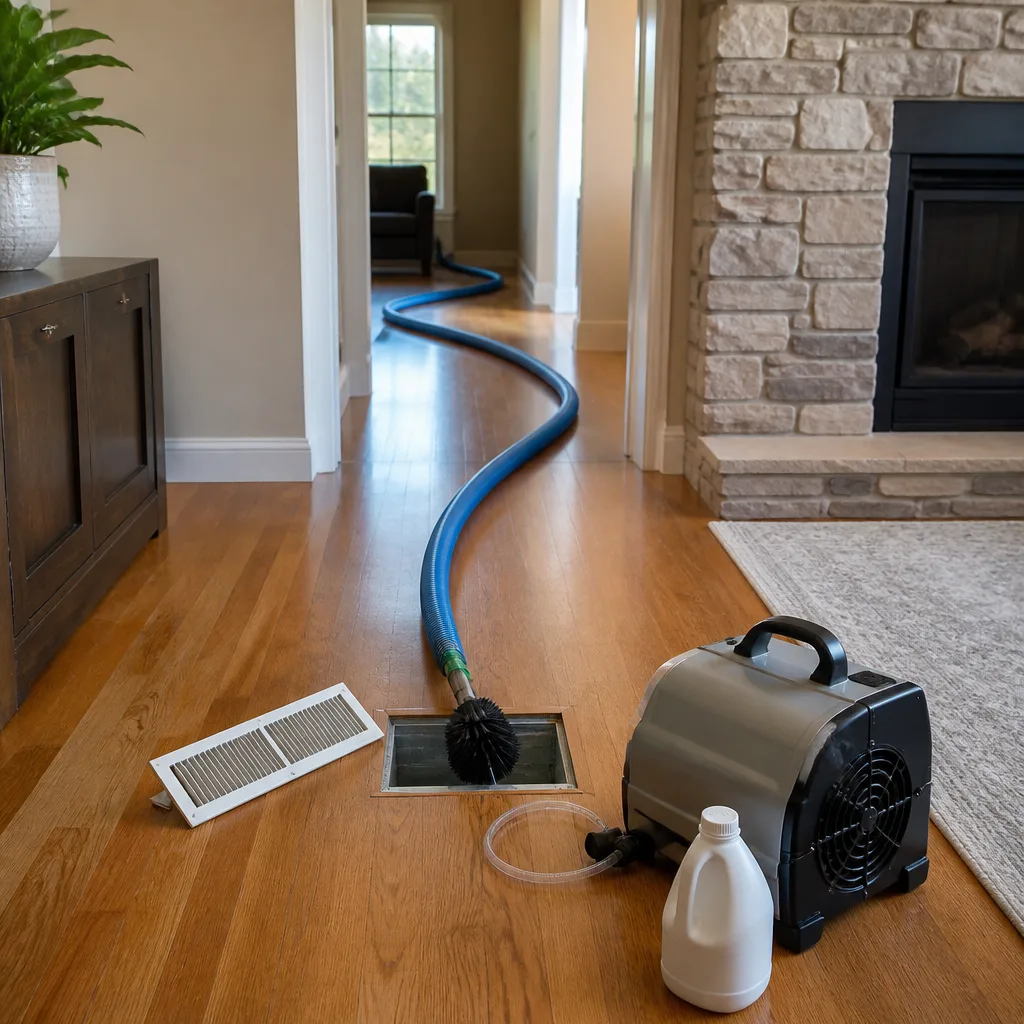 Sanitizing & deodorizing
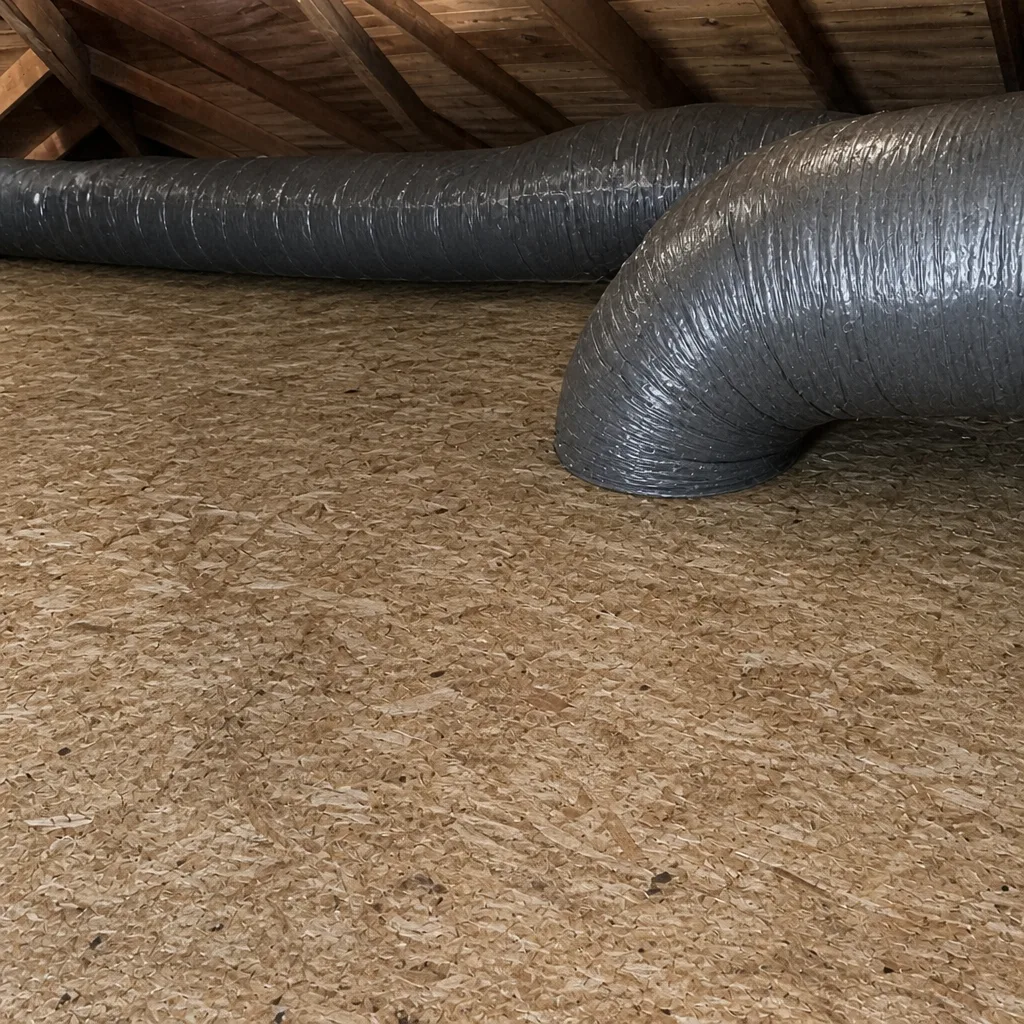
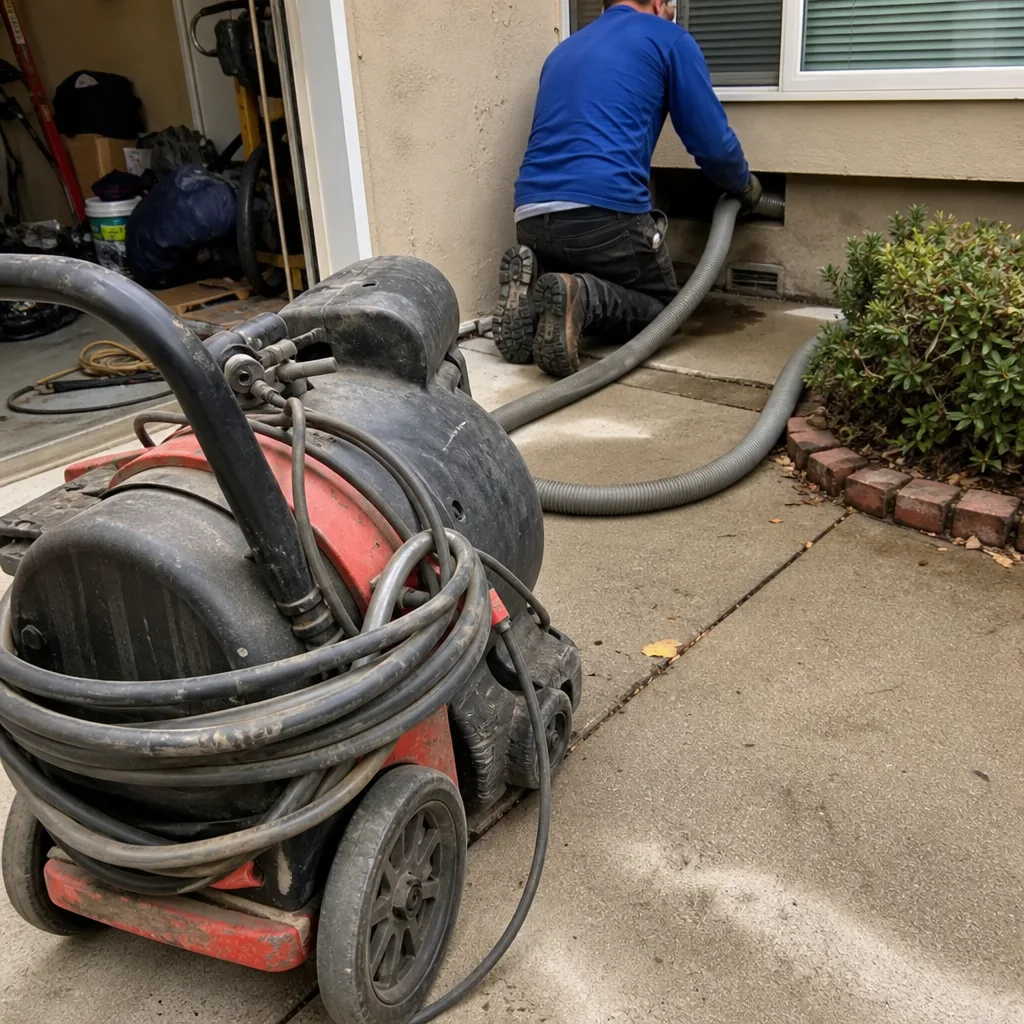
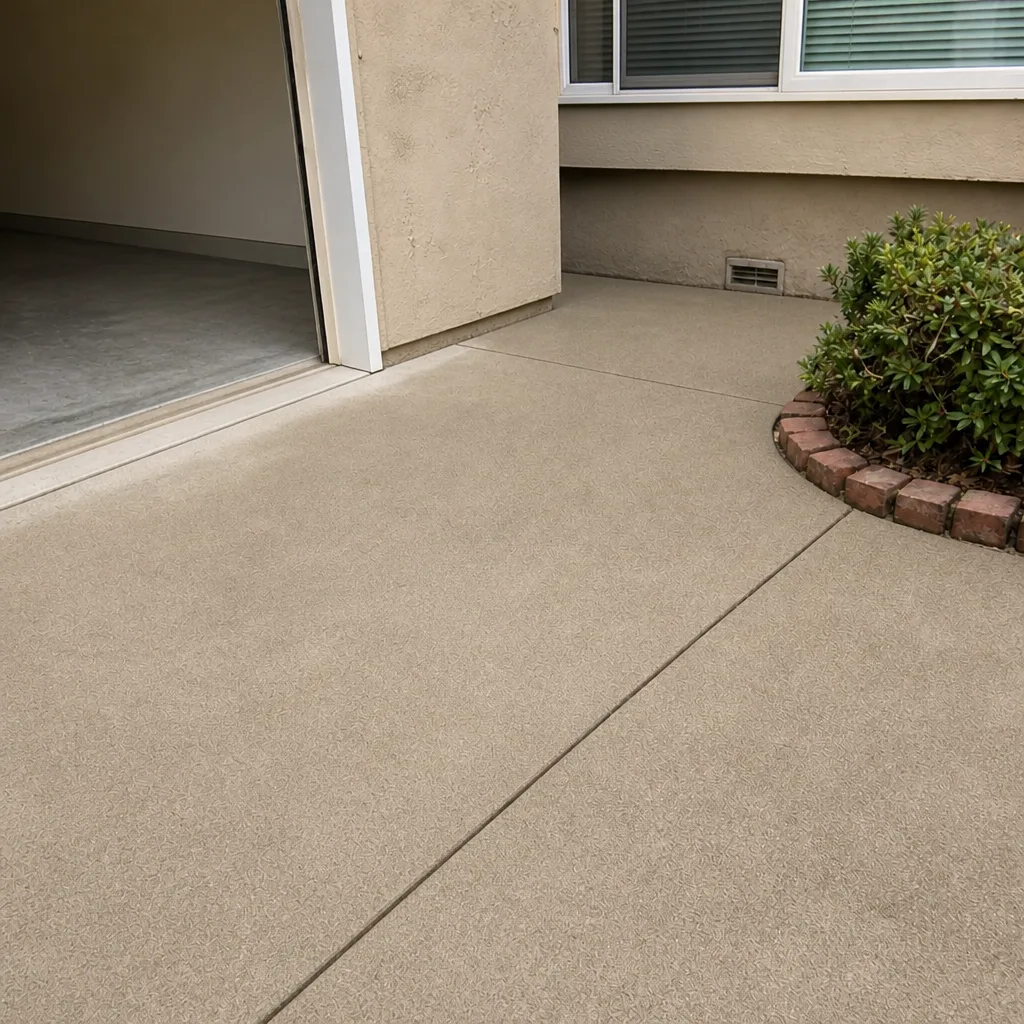
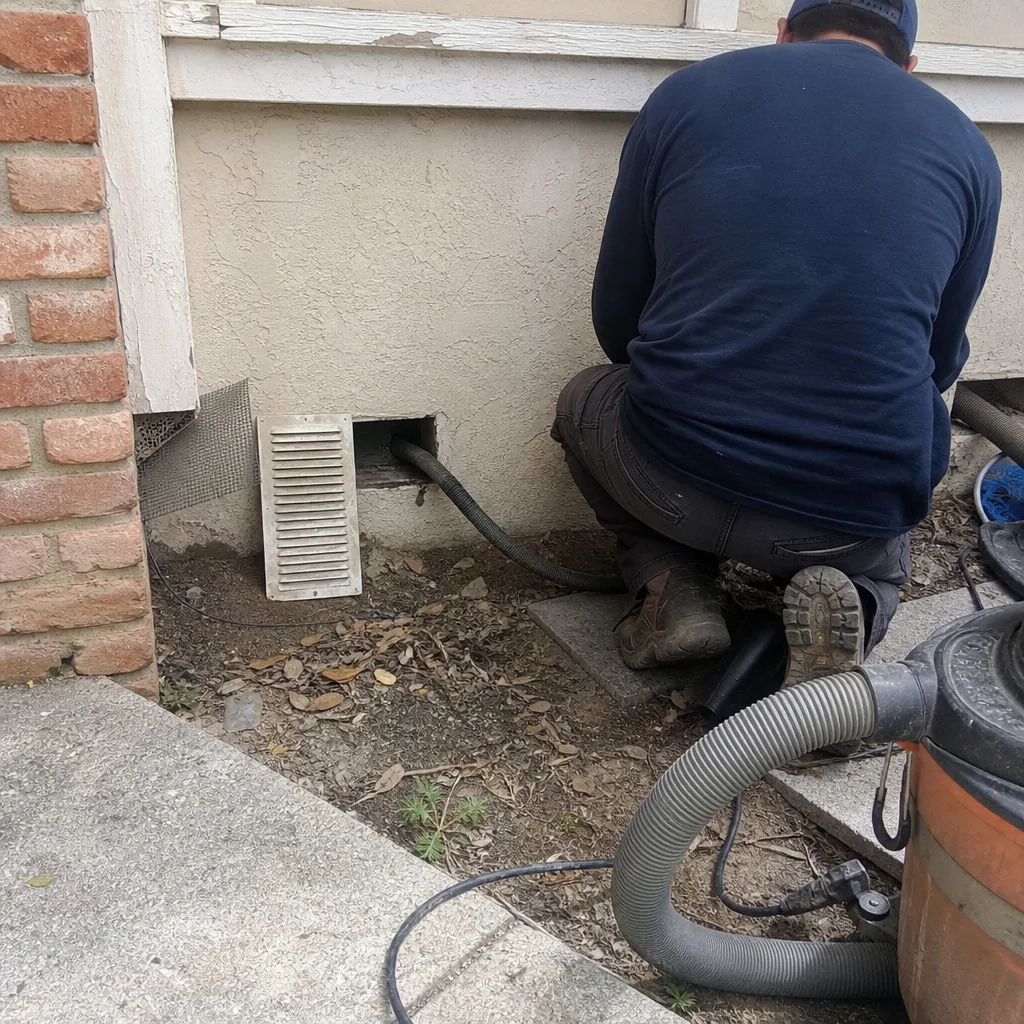
Whole-system duct and dryer vent check with before-and-after photos - you see exactly what came out of your vents
That "$99 whole-house special" is a bait ad - the real number appears once they are in your hallway, or the "clean" is a shop-vac at the register. We photograph the inside of your ducts before and after instead.
Air Duct Cleaning Maintenance Checklist for Hayward Homeowners
Here’s the thing most people miss: when your air feels stale in a Hayward house, the ducts might not even be the part that’s dirty. The real problem is often a return duct that has come loose in a crawlspace or attic, pulling unfiltered air from places you probably don’t want to think about. You could clean every run of ductwork perfectly, then hook that disconnected return back up and undo the work in a week. This guide gives you a checklist built around what a technician actually looks for when a cleaning doesn’t produce the results it should. We’ll cover what to inspect, how to interpret what you see, and when the right answer is professional help rather than another pass with a vacuum.
Quick Answer
Air duct cleaning maintenance in Hayward revolves around three recurring checks: confirming the filter slot actually seals, inspecting every visible register for the discoloration patterns that reveal supply-side leaks versus return-side contamination, and keeping an eye on how long your system runs compared to how the airflow feels in each room. Most homes with indoor air complaints don’t have dirty ducts first; they have mechanical disconnects, filter bypass gaps, or collapsed flex duct that cleaning won’t correct. Run this checklist every six months in spring and fall, and escalate to a camera inspection when any of the red-flag conditions below show up.
Styles & brands we work with
- Whole-home duct cleaning
- Dryer vent cleaning
- Camera inspection
- Sanitizing & deodorizing
Table of Contents
- The Filter Slot Seal Check
- Register and Grille Inspection: Reading the Discoloration
- Crawlspace and Attic Duct Visuals for Hayward’s Older Homes
- Runtime vs. Airflow: The Leak Test You Can Do Without Tools
- Odor Source Tracing: When Smell Is a Location, Not a Narrative
- How Often Hayward Homes Really Need Duct Attention
- When to Escalate to a Camera Inspection
- Common Mistakes to Avoid
- When to Call a Professional
- Frequently Asked Questions
The Filter Slot Seal Check
Start every checklist session at the filter. This is the single most consequential point in the entire system, and a gap as narrow as 1/8 inch around the filter frame is enough to render your cleaning temporary. Here’s the mechanism: if air can slide past the filter instead of going through it, that bypass air carries whatever dust, skin cells, and insulation fibers happen to be in the mechanical closet or return chase. You can run professional equipment through every supply register, and the system will recontaminate itself within a month because unfiltered air keeps entering the return side. Before you spend money on cleaning, spend five minutes with a flashlight.
Checklist for the filter slot:
- Remove the filter and hold it up to the light. If light passes through only in a few dull patches, it may be a high-MERV filter that’s choking airflow rather than a seal issue, but note it anyway.
- Carpenter’s square or a credit card along the inner frame edges. The filter should seat flush against all four sides with no daylight visible around the perimeter.
- If your filter is too small for the slot, fix the sizing before anything else. A 20×25 in a 20×26 slot leaves a strip of raw opening that bypasses everything.
- Look at the filter itself after you pull it. Dust deposits concentrated at the edges rather than evenly across the face suggest air is being pulled around the edges, the same starved-filter signature a technician sees on half-clogged units.
- Reset any clips or thumb latches that hold the filter carrier tight. A snapped latch that lets the carrier dangle open 1/4 inch is functionally the same as having no filter at all.
Hayward’s older housing stock matters here. Many mid-century homes in the city were built with undersized return chases, and a homeowner chasing better filtration with a high-efficiency Honeywell media filter can inadvertently create enough static pressure to turn a small gap into a whistling bypass. We work with Honeywell and Aprilaire filter media including high-efficiency options, and the install question is always the same: does the slot actually seal, or are we just making the gap more expensive?
Register and Grille Inspection: Reading the Discoloration
Dirty air doesn’t deposit noise, it deposits a map. When you walk room to room and look at the registers, what you’re actually reading is the airflow direction and pressure balance across your system. This is the highest-value observation a Hayward homeowner can make without opening a wall. The trick isn’t noticing that a register is dirty. It’s knowing what the pattern of dirt means.
Look at each register and note two things: where the discoloration sits, and whether it looks like sticky streaks or dry, powdery film.
- Supply registers with dust streaking outward from the diffuser blades: This may be normal and interior to the duct. Air moving through the run picks up dust from the metal or flex interior and throws it along the wall or ceiling. If this comes back within weeks of cleaning, suspect a hole or separation in that supply run drawing attic or crawlspace air in on the negative pressure cycle between blower runs.
- Return grilles caked with a dark, greasy film: Return grilles pull room air in, so this typically reflects the room itself, not the duct interior. That film is skin oils and cooking aerosol that attached to airborne particles. It means the return is doing its job and the filter downstream should be catching what passes through. If it’s getting past the filter, you’re back to the slot seal.
- Discoloration along just one edge of a ceiling register where the wall meets the register: That’s an air leak between the register boot and the drywall cutout. Conditioned air is escaping into the wall cavity and the deposited dust marks the path. Tape or gasket at the boot-drywall junction fixes it.
- Black streaking at the outermost register run from the air handler: The longest supply run sees the lowest air velocity. Air moving slowly can’t carry particulates, so they precipitate out as streaks. This isn’t necessarily a leak, just physics. A blower speed adjustment or damper balance solves it long-term.
For a comprehensive overview of our air duct cleaning process and how it addresses these patterns, including camera documentation before and after, see the service page. The key point for now is that the pattern is information. Don’t just wipe the register off and move on.
Crawlspace and Attic Duct Visuals for Hayward’s Older Homes
Hayward’s housing stock is heavy on slab foundations and raised foundations, which means the ductwork lives in one of three places: in the attic, under the floor in a crawlspace, or buried in the slab itself. The slab runs can’t be visually inspected, which makes the accessible runs that much more important. You don’t need any trade knowledge to spot the four things that account for most duct corruption in a Hayward home. You just need to know where to point a flashlight.
If your ductwork runs through a crawlspace, schedule a visual check twice a year, in spring and late fall. Take a flashlight, a mask, and gloves. What you’re looking for:
- Disconnected flex at boot or wye fittings. This is our most common camera finding on houses from the 1960s through 1980s. The plastic cinch strap cracks, the flex slides off, and that run is now blowing conditioned air into the crawlspace while pulling crawlspace air into the house through the negative pressure side.
- Sagging flex duct. Flex runs longer than six feet should be supported every four feet by strap. A run that looks like a lazy U between two points is collecting condensation or collapsing at the bend, cutting airflow in half.
- Moisture staining on the exterior of metal duct. The mild Hayward climate means condensation forms when warm indoor air meets a cold crawlspace surface at night. Chronic staining suggests insulation failure or an air leak right at that point.
- Rodent entry evidence. Chewed access points, droppings, or nesting material around the duct means the structural integrity of the flex is compromised and the insulation layer is contaminated.
In attics, same check but add one Hayward-specific observation: check whether attic insulation has been blown over or around flex runs. Many homeowners add blown-in insulation during retrofits and accidentally create a thermal blanket over the ducts that traps moisture against the vapor barrier. That’s a recipe for hidden microbial growth and fiberglass contamination inside the duct liner.
If you find something structural beyond contamination, Duct Cleaning Hayward performs air duct repair as a standalone service, including reconnecting separated flex, sealing boot-to-drywall gaps, and replacing damaged sections. We repair what others just clean around.
Runtime vs. Airflow: The Leak Test You Can Do Without Tools
This is the part of the checklist that requires no bending, no crawlspace, and no flashlight. It’s an observation you make passively, over a few days, and it tells you more about duct leakage than any amount of register wiping. The principle is straightforward: your HVAC system moves a designed volume of air at a designed speed. If the fan is running normally but the delivery feels weak, the reason is a physical problem in the duct run. Dirt alone rarely produces that symptom.
Here’s the test:
- Note the normal cycle time on a mild afternoon. If the system runs 20 minutes to satisfy a two-degree drop on a 75-degree Hayward afternoon, make a mental note.
- Hold a tissue near each supply register while the blower is running. A limp, fluttering movement instead of a sharp deflection means low air velocity at that run.
- Compare rooms. A back bedroom where the tissue barely moves while the living room register almost sucks it in reveals a damper imbalance or a collapsed flex run, not an accessory of dirty ducts.
- Check for hissing or whistling. A high-pitched sound at a closed door or the filter cabinet often signals a return air shortfall. The system is working harder to pull air, and the sound is the air finding every available gap.
Why this matters for maintenance: many Hayward homeowners interpret vague airflow differences as “the system needs cleaning.” Sometimes it does. But if the system is clean and the velocities are uneven, you’re looking at ductwork repair, not another cleaning cycle. That distinction saves money. A full camera inspection can settle it in under an hour, and it’s done with the same professional-grade equipment our technicians operate on every job.
Odor Source Tracing: When Smell Is a Location, Not a Narrative
Odor complaints are probably the second most common reason people call us, after dust complaints. And the most useful thing we can say about duct odor is that it has a direction. A musty smell that gets stronger when the air handler is running may be mold in the duct liner, but it may also be mold in the return chase under the house, entering through a disconnected return boot. The smell doesn’t originate in the ducts because the ducts are enclosed; it enters them at an opening. Your nose can tell you where to look.
Methodical approach:
- Smell test at the return grille with the blower off. If the musty odor is stronger at the return with the system idle, the source is likely in the return plenum, the return riser, or the cavity the return draws from. You’re smelling ambient air in that space.
- Smell test at each supply register with the blower on. If the odor strengthens at the supplies but not the return, the source is downstream of the blower in the supply runs or evaporator coil.
- Smell the air in the crawlspace itself, then close a supply register and open a bathroom fan. If running the exhaust fan draws crawlspace air into the living space through a leak, the smell will intensify. That’s confirmation of a negative pressure leak, not just an odor.
- Note the timing of the odor. A smell that appears only in the first 30 seconds of a cycle then clears is probably condensation on the coil evaporating, which is normal in Hayward’s mild climate. A persistent smell that stays through the cycle points to a real source.
Some odors call for filtration beyond the standard. We operate Abatement Technologies air filtration equipment when the situation warrants it, though this checklist is about knowing where the source is before choosing the tool. Chronic odor with no confirmed source is a strong reason to request a camera inspection, not a stronger air freshener.
How Often Hayward Homes Really Need Duct Attention
Any answer with a single clean number is guessing. The honest answer for an air duct cleaning interval depends on four variables: pets, occupant count, flooring, and how well the filter slot seals. A single adult in a two-bedroom with no pets and hardwood floors can go five to seven years between meaningful cleanings. A family of five with two dogs in a carpeted Hayward rancher might justify attention every two to three years. The checklist is how you know where your home sits on that range.
Signals that someone in your home is out of band:
- Dust buildup visible on return grilles within 14 days of cleaning them. The system is pulling high particulate air, and the return load is telling you the interior of the return run matches the grille.
- Supply streaks returning after a professional cleaning within six months. That’s not re-cleaning territory. That’s a leak or disconnection allowing attic or crawlspace air into the supply run.
- Visible puffs of dust from a register at blower startup. The duct interior has accumulated enough to shed on pressure change; run time and humidity accelerated it, but the mass is there.
- New allergy symptoms that track with HVAC operation, not season. If symptoms spike when the system runs and drop when it’s off, the system is aerosolizing something from the return or supply runs.
For dryer vent cleaning, which we recommend as a separate annual discipline, the intervals are more predictable given lint accumulation rates. We’ll address it in the FAQ below.
When to Escalate to a Camera Inspection
Some of these checklist findings can be resolved by you in ten minutes. Others require eyes inside the duct, which is where professional equipment changes the game. Most reputable Hayward duct companies use access holes, not endoscopes through a register, and they look for structural failures you can’t see from either end. Here’s when to make that call:
- Confirmed disconnected return in a crawlspace or attic. The visual finding is definitive, but the camera shows whether the run fell off one fitting or split in the middle.
- Uneven airflow with no obvious exterior cause. If the tissue test shows weak delivery at one end of the house and there’s no collapsed flex visible in the accessible runs, the camera likely finds a pinched or kinked section in a concealed span.
- Musty odor isolated to specific rooms but no visible source. Hidden microbial growth on a duct liner or a water reservoir sitting in a low spot of a flex run is invisible from outside.
- Post-cleaning recontamination within a month. Camera inspection after any professional cleaning is the only way to verify the work actually removed the contamination. We run a camera verification as part of our process because “cleaned” without evidence is just a story.
- Dryer vent issues not resolved by basic exterior cleaning. A camera inspection of the dryer vent finds crushed sections, improper terminations, or accumulated lint deep in the run, all of which matter much more than the moisture at the lint trap.
Any professional in this field should show you the before-and-after images of your own ducts. If a company can’t or won’t, that’s a disclosure red flag. The equipment we run, Rotobrush and Nikro systems, is the same standard commercial contractors use in office buildings, and the camera feed is part of the deliverable because it makes the work verifiable.
Common Mistakes to Avoid
- Upgrading the filter before checking the seal. A high-MERV filter in a gap-filled slot creates a static pressure rise that increases bypass velocity and can damage blower components. Check the slot first, and use a filter the system can actually flow.
- Cleaning supply registers and calling it duct cleaning. Register wiping addresses the vent’s exterior face only. The runs behind those registers remain laden with whatever occupied them. You’ve cleaned the faceplate, not the system.
- Ignoring the return path. Many Hayward homes have undersized returns from bedrooms. Closing supply registers in unused rooms to balance airflow actually increases negative pressure on the return side, pulling more crawlspace and unsealed attic air into the system.
- Running the blower more often without first sealing leaks. Even mild Hayward humidity creates condensation at every cool surface. More runtime through leaky ducts means more moisture, and more moisture means more film-on-dust accumulation inside the runs.
- Treating symptom rooms in isolation. A bedroom register that keeps soiling while the rest of the house stays clean signals a local leak, not a system-wide contamination problem. Cleaning the whole system because one room is dirty spreads the cost across the wrong problem.
- Doing a visual check but not documenting. Discoloration patterns change subtly over time. A phone photo of each register and each accessible duct span builds a six-month comparison log, which is the difference between noticing a slow leak and diagnosing one after it has already damaged insulation.
When to Call a Professional
If this checklist reveals a disconnected return, a 1/8-inch filter gap you can’t close, sagging flex, inconsistent airflow across rooms, or an odor that localizes to one end of the house, stop the DIY phase. These are structural and mechanical conditions, not cleaning opportunities. The professional starting point in Hayward is a camera inspection that documents exactly what the accessible runs look like right now. Duct Cleaning Hayward offers free estimates in Hayward, gives you the before-and-after images from the camera, and runs Rotobrush and Nikro equipment so the work is quantified by the tool and the visual record, not by an estimate escalation. Call (833) 589-9902. We answer 24/7. Fast dispatch from 7am to 7pm, Sunday through Friday.
Frequently Asked Questions
Estimates are per system and depend on the home’s square footage, number of returns, and accessibility of the runs. Hayward’s mix of slab, raised, and attic-ducted homes means two houses of the same square footage can have very different duct access costs. Expect a written estimate specific to your home rather than a flat number quoted over the phone. Call (833) 589-9902 for a free estimate, and we’ll inspect before we quote.
The most common reason in Hayward is a leak or disconnection that pulls unfiltered air into the system after the cleaning, undoing the work within months. A camera inspection at the time of cleaning should have documented that all runs were sealed and intact. If it didn’t, ask for one now. Recontamination that fast means the mechanical source was never addressed.
The standard annual interval is reasonable for most Hayward homes, but households with frequent dryer use, long vertical vent runs, or flex sections through a crawlspace may need attention more often. A dryer vent should move air strongly at the exterior termination. If the airflow feels weak or the dryer takes extended cycles to finish a normal load, schedule a dryer vent cleaning regardless of the calendar date.
Yes, with proper precautions, and the checklist above covers the four visual items to look for. Use good lighting and a dust mask, and never enter a space with standing water or damaged electrical. If you find something structural, take photos and contact a professional rather than attempting to reconnect a flex run yourself. A poorly seated connection leaks as much as a disconnected one.
Both brands make high-efficiency filter media that captures smaller particulates than a standard one-inch fiberglass filter. The effectiveness depends entirely on the slot seal and the blower’s ability to handle the added static pressure. We work with and install Honeywell and Aprilaire air quality components as part of a duct service, and we always verify the fit before upgrading, because an oversized media filter in a leaky slot is a false improvement.
A clean filter with dusty rooms means one of two things: the filter is bypassing air around its edges, or the dust is entering downstream of the filter through duct leaks. Both are structural conditions, not filtration problems. The filter only catches what actually passes through it, and anything entering after that point goes straight to your supply registers. Check the slot seal, then have the runs camera-inspected.
The Bottom Line
Your air ducts are a mechanical system, not a container that slowly fills with dirt at a predictable rate. The maintenance question isn’t “how dirty are they” but “is the system still sealed and balanced.” Dirty supply registers and weak airflow are symptoms of different, often structural, problems that cleaning alone won’t solve. This checklist gives Hayward homeowners the observational tools to separate a cleaning issue from a repair issue before spending money. Run it twice a year, document what you see, and call a professional with camera equipment when the pattern says repair rather than clean. Professional-grade equipment, residential care.
Written by the team at Duct Cleaning Hayward, serving Hayward since 2011.
See the difference
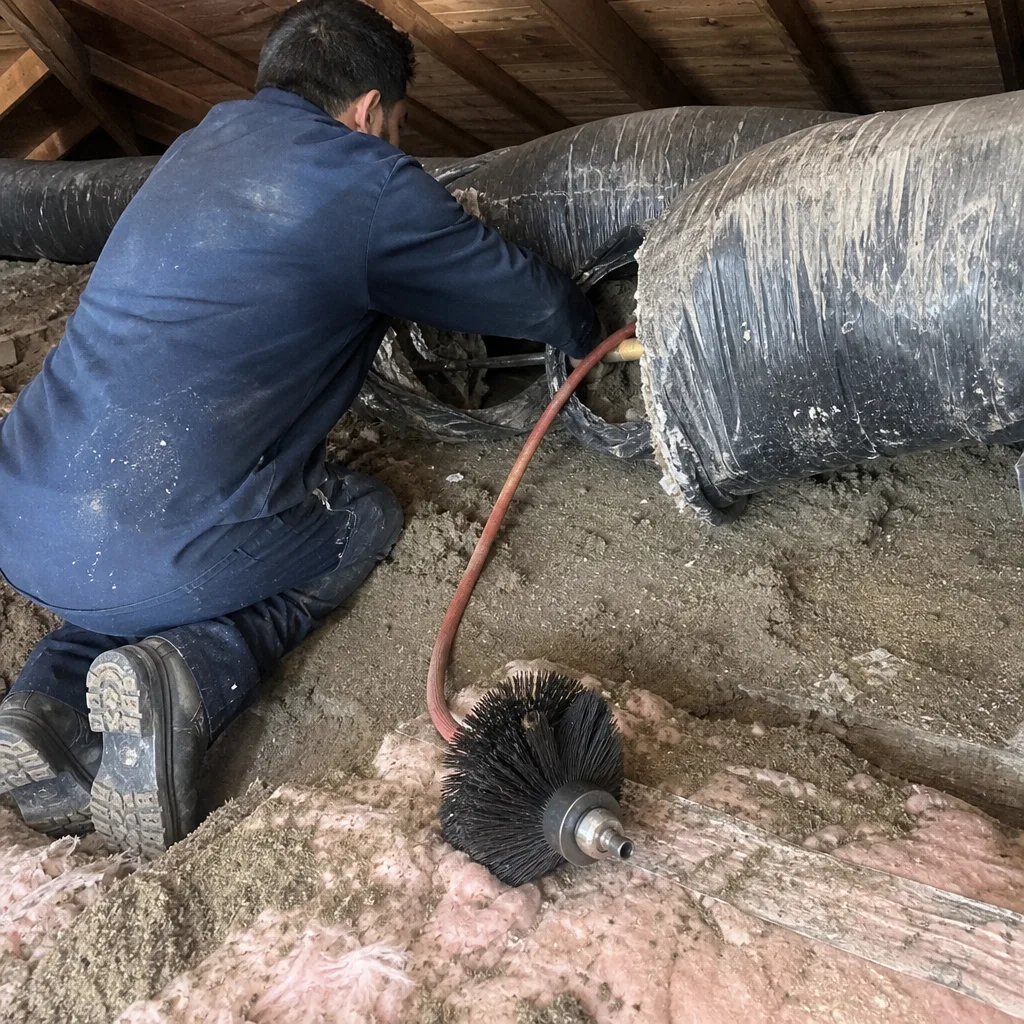 Before
 After
 Before
 After
 Before
 After